Monday 30 November 2015

Mars Alpha Pattern Warlord Battle Titan (6)

Before i moved onto other parts of the Warlord build, i needed to finish off the pinning for the weapon arms. The mechanism itself is done, so i just needed to finish off the pins.

After scouring my bits boxe's i couldnt find anything to cap the ends of the pins with. Then my eyes driffted to the Reaver and the void shield generators - now they would be ideal!!

So, i cast myself up a mould so i could make some of my own for the pin caps. 


Firstly, i drilled in a small hole into the back of the cap.


These held the brass rods perfectly. I recessed them to make sure it was a resonably strong connection.


I then test fitted the pins into the joints and cut the rod to the exact length i needed, which of course is the width of the weapon housing. 


So next was the other end of the pin. I cast a few more caps then recessed some 2mm magnets into them.


I then stuck some magnets onto the other end of the brass pins.


The end result was this dumb-bell looking pin!


Once in place, the pins looked great!


Thats one big headache out of the way! Now onto the final parts of the build!

The GunGrave

Tuesday 24 November 2015

Mars Alpha Pattern Warlord Battle Titan (5)

I've given a lot of attention to the weapons mountings recently, as they seem made to be interchangeable. I'm sure FW will create weapons to represent all of the Warlords options in the future, so i want my titan to be future-proof!

So if these weapons were going to be going in and out, i wanted to make sure the connection points were suitably reinforced. To do this i'm going to use 4mm brass tube to reinforce the joints, then a 3.5mm rod to act as the pin. First things first; how do i cut brass tube without screwing up the shape??


With a tube cutter of course! You set the width then roll the tube around the cutter while slowly tightening the clamp.


After a very long and boring process, the tube is perfectly cut without collapsing the shape.


But this was taking FAR to long and i needed a few lengths of tube, so i got out the Dremel and used and angle grinder bit instead!!


So hows this going to work? Well the mountings of the Volcano Canons are large flat discs. I drilled a hole through the middle and inserted a small length of the brass tube into it. This would reinforce the joint, keep the movement smooth, and make it last a bit longer!


Happy that the idea worked, i cut some more tube for the other connections.


The weapons mounts at the ends of the Warlords arms also needed reinforcing with the same brass tube.


Once the glue for the tubing was set in their sockets, i gave it a trial run with a bit of brass rod. Perfect fit! This is going to enable me to easilly swab out the weapons. Especially looking forward to the Sunfury Plasma Annihilator! Who wouldn’t want one of those with a name like that?


The GunGrave

Wednesday 18 November 2015

Mars Alpha Pattern Warlord Battle Titan (4)

Next up is the Warlords arms and weapons mountings. These were a bit fidilly to get stuck down!! A bit of help from my clamps got it sorted. 

The pose of the mounts will see the weapons hanging slightly away from the body, and pointing slightly outwards. 


Once the Araldite had dried i drilled in some more reinforcement pins for a bit more strength.


I did the same for the shoulder connection.


Next up was the piston assemblies in the 'armpits'!


I did debate having these movable so i could have the weapons rotate at the shoulder, but it was shapping up to be a huge ammount of work so left it.


While all that was drying i got the Volcano Canons stuck together. These weapons were all very large pieces so they didnt take long.


Sadly there were some large gaps between the heat sinks and the weapon which had to be filled with MilliPutt. This was a bbit of a pain, but got it done in the end!


I also got some holes drilled into the Volcano Canon mounts, but more on that next post!

The GunGrave

Thursday 12 November 2015

Mars Alpha Pattern Warlord Battle Titan (3)

A big update on the Warlord today, as I've managed to get quite a lot done recently.

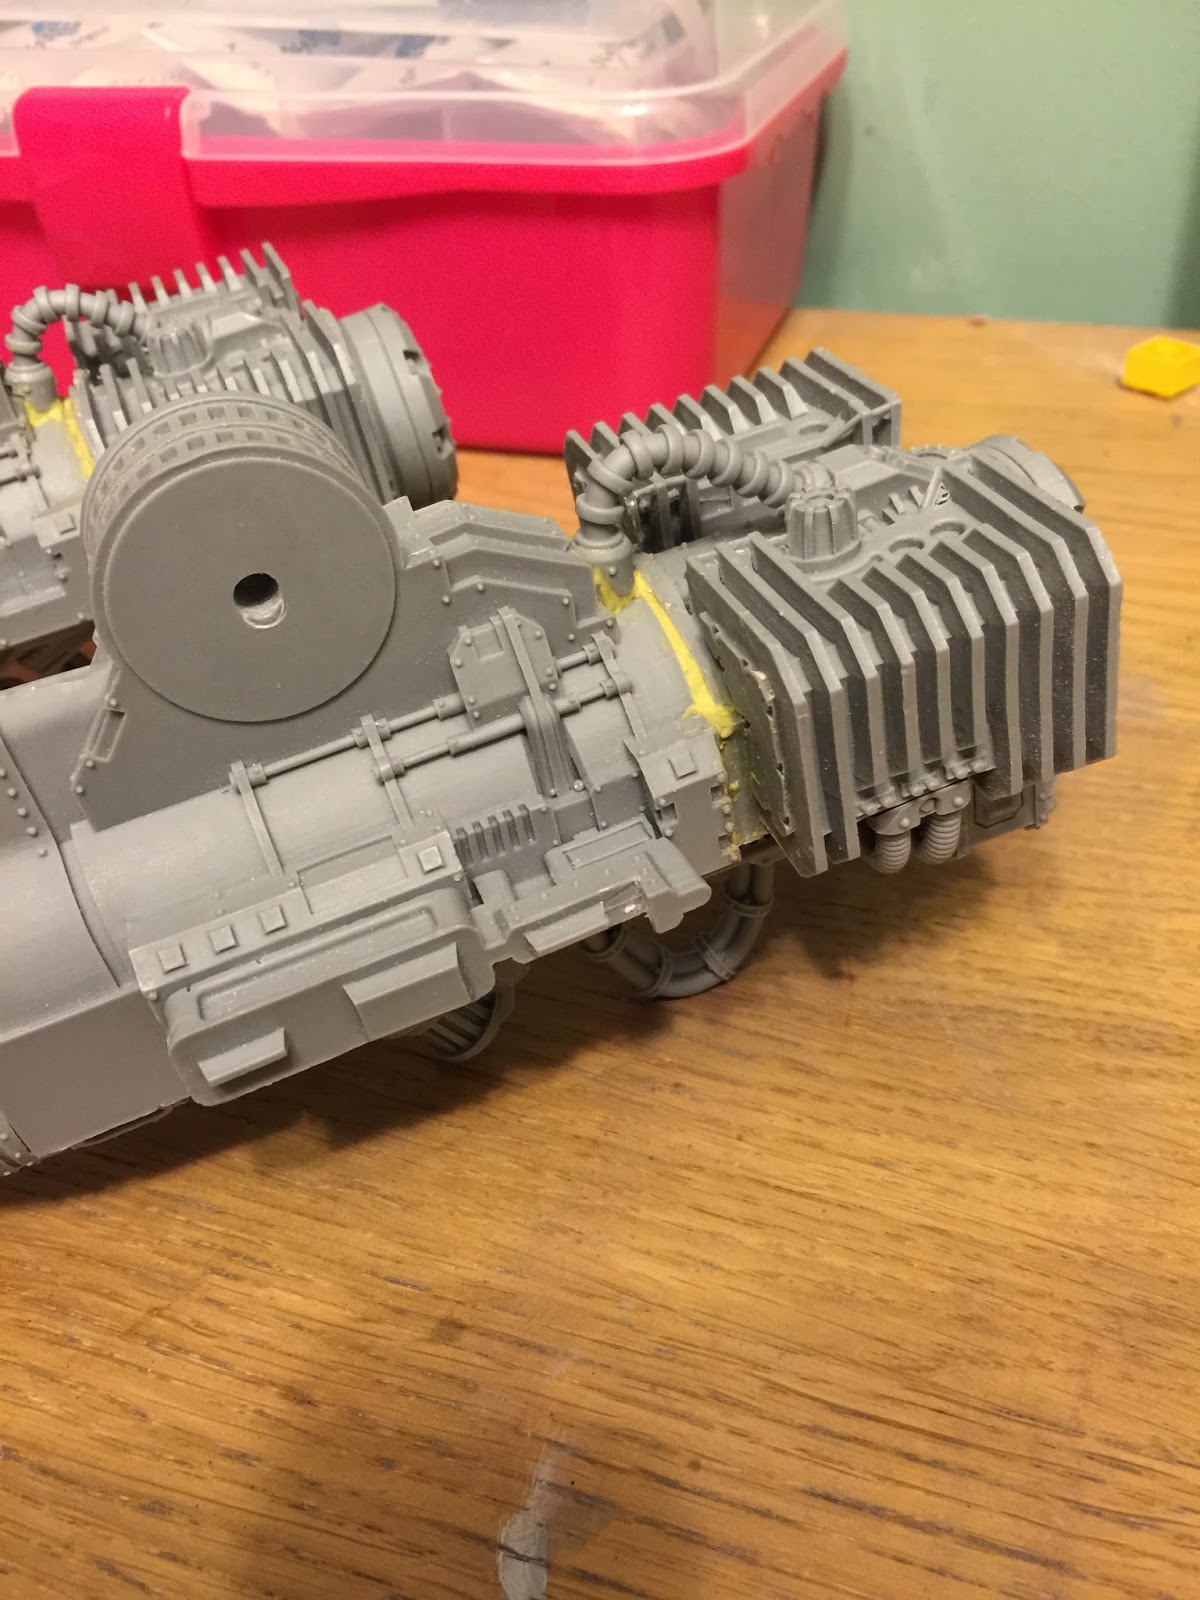
The vents on the top of the carapace have now been added. This was a bit of a chore as the pieces didn't quite fit properly. I had to soak them in boiling water a few times in order to get the fit right. Even after that there were quite a few gaps  at the front end which had to be filled. 


I'd also worked on the shoulders. These needed to be strongly fixed to the main carapace, and they'll not only have some very heavy weapons hanging from them, but some equally heavy weapons sitting on top of therm to!

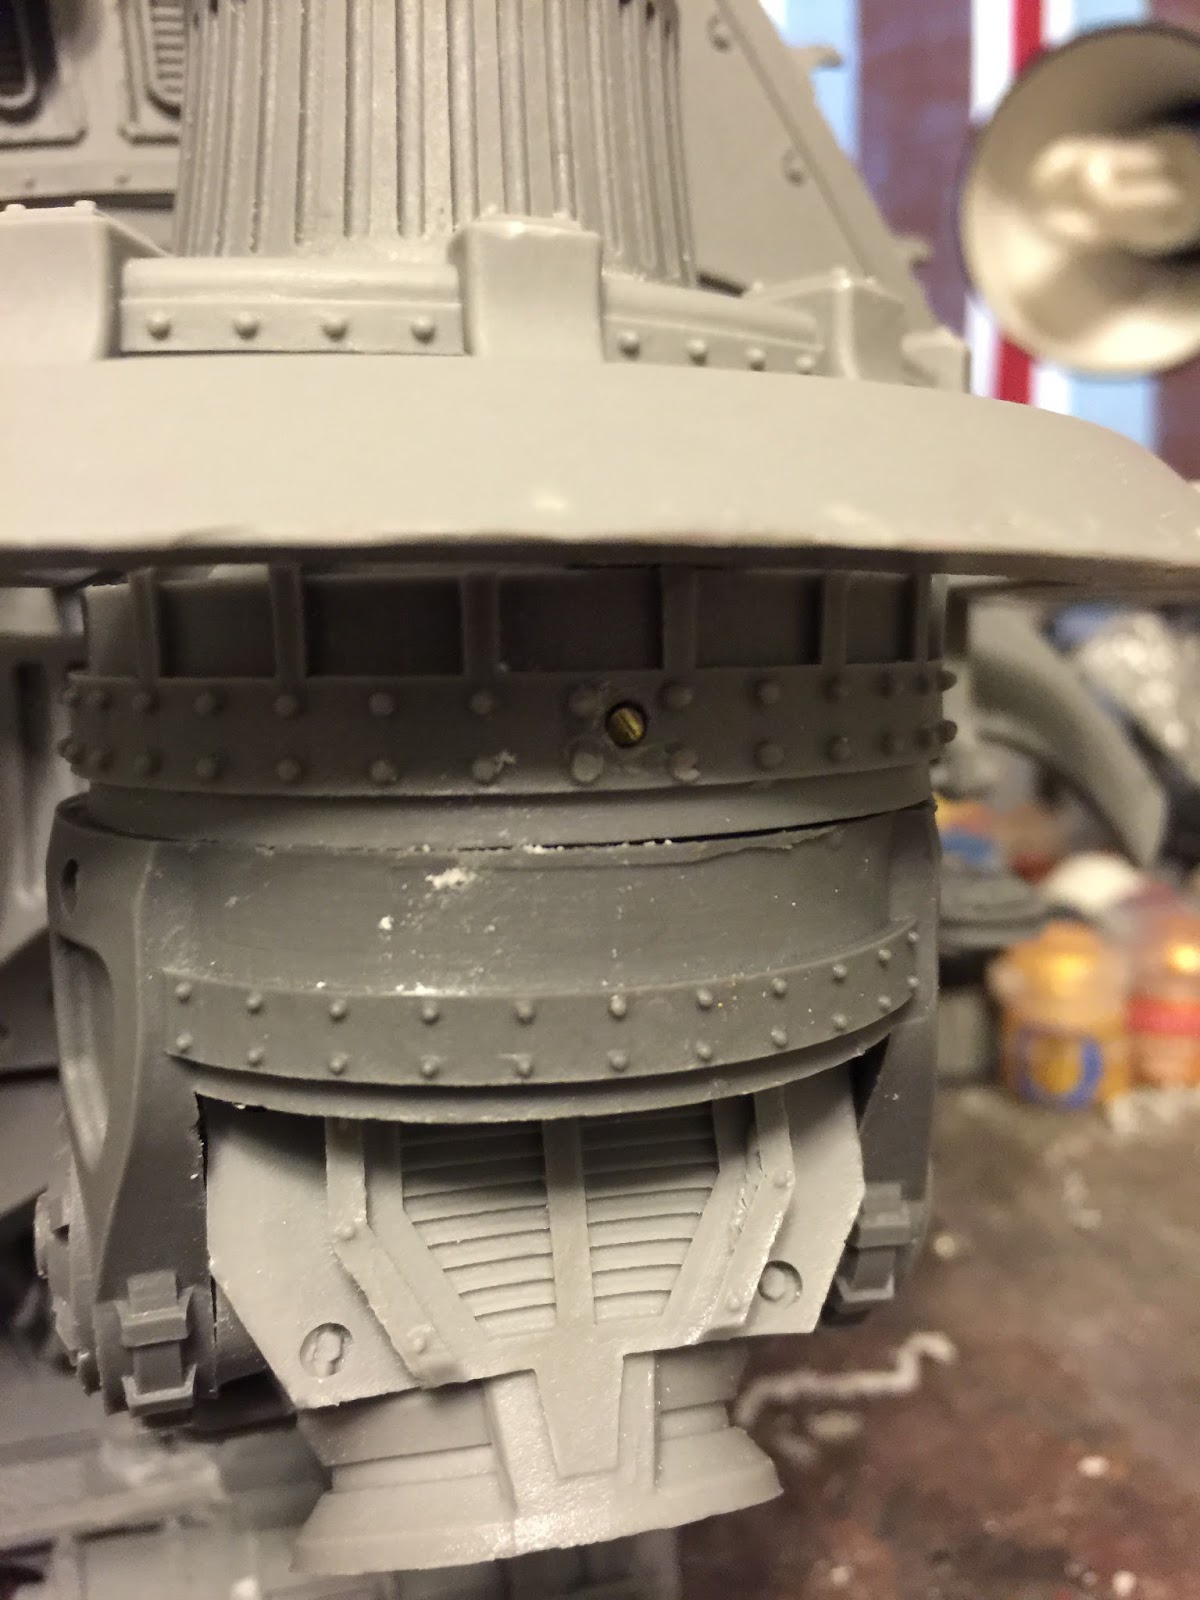
The surface was flat between the carapace and the shoulder piece, so i used Araldite for the initial fix. After that i drilled in some 3mm holes for some more brass rod.


Each shoulder had 4 brass pins inserted to make sure they were properly fixed. The below picture is the top of the shoulder part, where i drilled in 2 holes diagonally downwards into the carapace and pinned.


While  that was drying i started to prepare the defencive weapons and their mountings. I wanted these weapons to be removable as they're at risk of breaking off while being transported. The best way to do this was to magnetise them.

The weapons came in 3 parts; the weapon, the weapon housing, and a placement pin. I glued the weapon into its housing then fixed magnets to the housing and the pin. These are the Mauler Bolt Cannons.


And these are the Lascannons.


The weapon mountings on the main carapace were designed for the placement pin to be inserted into the top of the mountings, passing all the way through to the bottom, where it would meet the smaller housing of the weapon itself. I stuck the placement pin to the carapace weapon mounting, leaving the weapon itself to move freely on the magnets.


Next i moved onto the shoulder mountings for the armour panels. These were very easy to place, and slotted in nicely to the main carapace.


Now the Warlords starting to bulk out a bit, he's quickly filling up the new display cabinet!


The GunGrave

Friday 6 November 2015

Mars Alpha Pattern Warlord Battle Titan (2)

Work is progressing pretty quickly at the moment I'm pleased to say. With the main leg assembly completed, I've moved onto the torso.

These pieces are especially large, so i had to buy some clamps especially for the job. This made this stage of the assembly a little slow, as each piece had to be allowed sufficient time to dry while clamped in place before moving onto the next bit.


The torso could now be placed atop the completed legs. The join is large and stable enough that i hope i don't have to magnetise it. Now the true scale of the model could be seen! Its an absolute beast!


I don't think the scale can be properly appreciated until its seen in the flesh. I've put a Terminator Chaplin on the top of the carapace to help you with the scale!


As i was putting the Warlord together i quickly realised that it wouldn't fit inside any of my display cabinets. Bugger...

A quick trip to Ikea later, and the Warlord has a shiny new cabinet to stay in! Beautiful!

(the poor Reaver was still in bits at this stage!)


More soon.

The GunGrave

JSA - Yojimbo!!

He has a name you just have to shout every time you activate him! The mad motorcycle monster himself, Yojimbo! The JSA have very limited...