Monday, 2 November 2015

Mars Alpha Pattern Warlord Battle Titan!

A few posts ago i hinted at 'an exciting purchase' that prompted the repainting of the Reaver Titan. That purchase is now here, and its a shiny new Warlord Titan!!

For me (and many others i suspect) this is a dream-come-true model! As soon  as i saw the first pictures, i started saving up the cash for this massive purchase! 

On the day it arrived, i immediately started getting the pieces together, starting with the legs. 78 pieces later, this is what i had in front of me.


I needed a bucket to get this lot washed and prepped!


A few Gin's and a worn out toothbrush later, it's ready nearly for assembly.


So it goes without saying that a model of this size requires a bit of forward planing, so before any gluing was done, the pieces were layed out to check the positioning. I started from the ground up!


Next up i glued the 'knees' to the 'shins', the column like section that attaches to the foot. I used the foot just to keep it all upright here.


Now to glue the legs into position. For this i actually started from the top and worked my way down. This would make it easier to pose and i could get assistance from gravity to apply pressure to the joints.

Before that though, i lined up the hips with the pelvis and marked where i wanted the pieces to be. This would make it easier when i glued them in place. I'll be using Araldite for these larger pieces.


I wanted the Warlord to have a striding pose, so one leg is positioned in front of the other.


After the Araldite had dried, i drilled a hole into each hip to add a pin. I know this seems like I've done this the wrong way around, but trust me, this is a much easier way to add support to a large joint like this.


A length of 3mm brass rod was inserted and Araldite used to secure it in place. The hole will later be covered up with the Titans gyro's which sit in the centre most recess.


After that it was on to the knees. These were much easier, as they were a straight forward articulated joint that only goes forwards or backwards. Another 3mm hole was drilled and brass rod added BEFORE gluing this time to ensure i got the pose right. Once happy, i added more Araldite and let it set.


I happened to have a bottle of airbrush cleaner that was exactly the right height to have the pelvis rest on top of it, making it very easy to pose and let dry! So easy in fact i glued the ankles while i was at it!


You can better see the position of the legs that i went with here. The rear most foot is also slightly off the ground as if its about to take a stride. That bit of wood under the back foot is there to help keep the pose while the Araldite dries.


After all that was done i was looking at what I'd done, feeling rather impressed with myself, when i spotted 2 stray parts...these piston rings were meant to go on over the hip joints! As they were now firmly pinned and Araldited in place, i was stuck! I had to cut away a section, place the rings, then glue it back on again! Never mind, I'll have to pay more attention going forward!


I imagine this project will dominate most of my time so expect more updates soon!

The GunGrave

Tuesday, 27 October 2015

Reaver Titan Re-Paint Part 3

Its been a while since i posted on this project, but i have got a lot done since i last posted!

The first think i did was repaint all of the gold trim (and theres a lot of trim!) It was at this point i did start to doubt the wisdom of this idea, but i powered through. Once that was done i was able to progress with the other bits quite quickly. 


The heraldry on the knees needed a lot of attention. They previously looked very dark and boring. I was a bit limited on the left knee as the detail was already modelled onto it. I re did the gold of course, and then i used an airbrush to get a fresher finish on the scroll work. The gold also looks a lot better now - and i can actually replicate the recipe!!


The right knee was a blank canvas so i quartered it to maximise its usage! Hazard stripes make up the top quarter (as per my recent Hazard Stripe Tutorial) with a yellow quarter opposite. The remaining 2 quarters were left blue. The blank quarters will eventually sport some Legio Astorum transfers.


The carapace heraldry was given a lot of airbrush attention to get a smoother gold effect, and a fresher look on the scroll work. The shield on the middle is plain blue, again waiting for some transfers.


I had an interesting little idea while repainting this. I decided to magnetise the void shield generators. This would help me keep track of the void shields that are still active during the course of a game! I'd simply remove a generator when a shield was lost, and add one when it was restored.


Finally, i repainted the head. I kept it yellow as per the Legio Astorum colours, but gave it a much brighter look. I also managed to achieve a much better degree of shading by using the airbrush.


So I'm nearly there! Just the weapons to paint and Praetorian will walk again!

The GunGrave
Wednesday, 21 October 2015

Blessings of the Omnissiah: Questoris Knight Styrix Complete!

Another mighty Knight is ready to fight for the Mechaniucm! The second Styrix is now complete. All the weapons are magnetised as usual!


The red armour plates received the same black - red shading treatment as the rest of the Mechanicum Knights.


The fantastic bronze carapace maintains the strong visual link with the rest of the Mechanicum force.


I went with something a little different with the shoulder plates of this Styrix. The lower two plates on the shoulders had hazard stripes applied. These were a royal pain to apply, but after 4 attempts i managed to get a result i was happy with! I'm glad i went with it though.


The armour on the legs was kept mostly red this time. I'll be relying on the still-to-be-released Mechanicum transfer sheets to break up  the colour.


The Hekaton Siege Claw. Modelled with its claws more open than the last - i wanted to make it look like it was using its Irad Cleanser on some unfortunate enemy troops!


The fearsome Volkite Chieorovile!


Here are the 2 Styrix together! Apologies for the picture, it was impossible to get both Knights into the light box without a bit of the white edges creeping in!!


Time to get them out killing! Only 1 Knight remains in the meantime; a Knight Errant!

The GunGrave

Tuesday, 13 October 2015

Heresy Era Death Guard: Contemptor Mortis Complete

This guy has been complete for a while but i haven't got around to photographing him until now. This final Mortis sees the completion of my Death Guard Dreadnoughts, and some much needed anti-aircraft support!


Some weathering powder on the barrels of the Assault Cannons.


I used the same shading technique on this Mortis as the other 2 dreads. Sadly the green colours i thought i used were actually slightly different to the ones i used this time around. Never mind, it still looks good on this Dread.


Rust effects on the exhausts. I seem to have forgotten to do this on the other 2 Contemptors, so i quickly went back and added it to them!


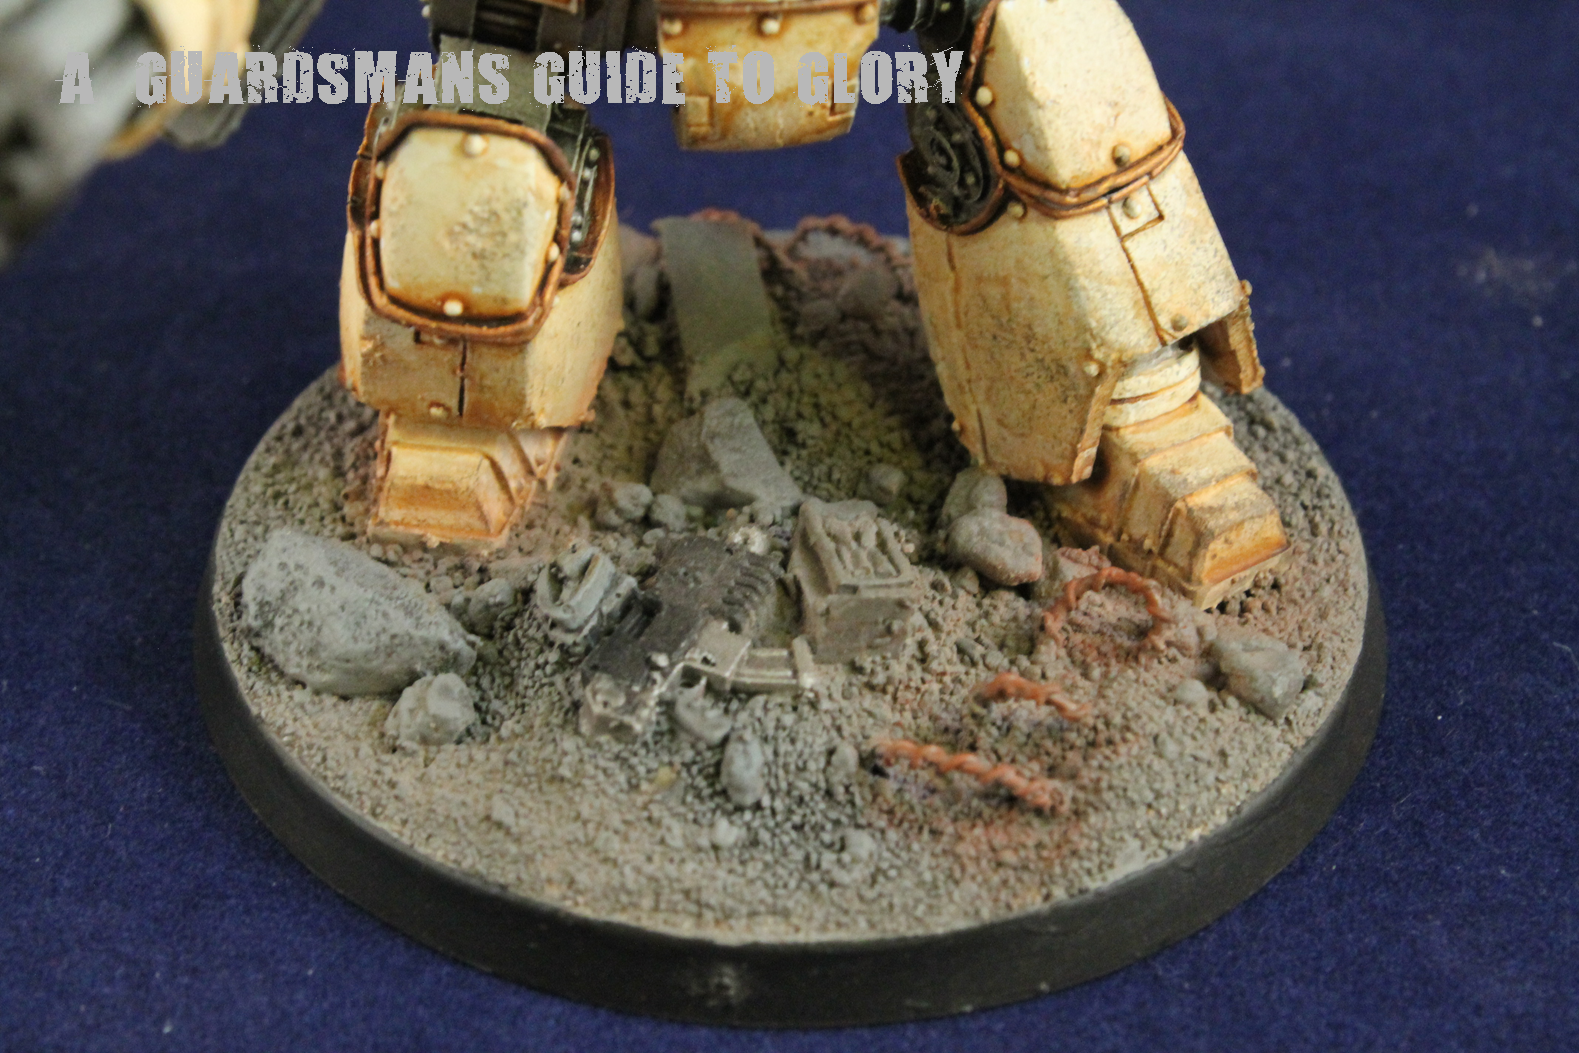
Rubble base. The eagle eyed of you may notice a piece of the old Urban Basing Kits that GW did years ago.


When i built this Dread i wanted to make sure it had interchangeable weapons options, specifically Power Fists. I'm really interested to see how effective close combat Contemptors are!


Once i started doing that i decided to give one of the older Contemptors the magnetic treatment as well, so its arms came off and the magnets went on! I only had to buy one more fist for this guy, as he already had one to go with his Lascannon. I really like the look of them actually!


Here's the Contemptors all together! You can see the differences between the green on the shoulder plating in this shot...as time goes on I'm sure it ll bug me enough to go back and update the 2 older Dreads!


Now time to find a game and unleash the CC Dreads!

The GunGrave

Monday, 5 October 2015

Hazard Stripe Tutorial

So before i did the hazard stripes on the second Knigt Styrix, i did a bit of research on how i could jazz up the stripes. They would draw a lot of attention from the eye as they contrast so starkly with the red of the hull, so i wanted them to be a bit more special.

The tutorial i decided to follow was from Spikey Bits blog. I loved the technique, although long winded, and really wanted to give it a go. You'll need an airbrush and some suitable paints to use in it.

First up i had to tape up the shoulder plating. this was no easy task over an uneven and curved surface! In light of this i know the stripes arn't perfectly straight. But by the end of the process (and this was actually my 3rd attempt at successfully hazard striping these pieces!) I'd had enough!


So first stage was a layer of Vallejo Game Air  Beastly Brown. Black is far to dark to apply yellow straight over, so you need to build it up from black to make sure the yellow actually looks yellow!


Next was Leather Brown.


Now it was time for a bit of yellow. A layer of Gold Yellow was  next. I was careful to leave a bit of the brown showing at the edges of the stripes to create some contrast.


Now, to make sure the yellow achieves  its full colour a layer of Dead White was applied over the yellow, again carefully leaving some darkness at the edges.


A second pass of Gold Yellow. You can see the difference here from the first pass of yellow.


Now we've had 4 passes of colour with the airbrush so the contrast could be a little overpowered by now. To make sure I got the contrast i wanted, i gave the edges if the stripes a thin pass of Beastly Brown again.


Then i softened up the edges of the contrast with some more Gold Yellow. Looking back i think i should've been braver with the contrast here - i think i didn't leave enough brown.


And that's it! It does seem a bit of a long winded process, but the layers of paint are so thin they dry quite quickly. I sped things up a bit with a pass with Mrs GunGraves hairdryer between layers.

It looks a little messy at this stage...


But once i got the trim on it looked a lot better!


If i have occasion to do this again then i would definitely make more of an effort on the contrast. Not bad for a first attempt though! I'm looking forward to finishing the Knight and seeing the plates on properly.

The GunGrave

JSA - Yojimbo!!

He has a name you just have to shout every time you activate him! The mad motorcycle monster himself, Yojimbo! The JSA have very limited...